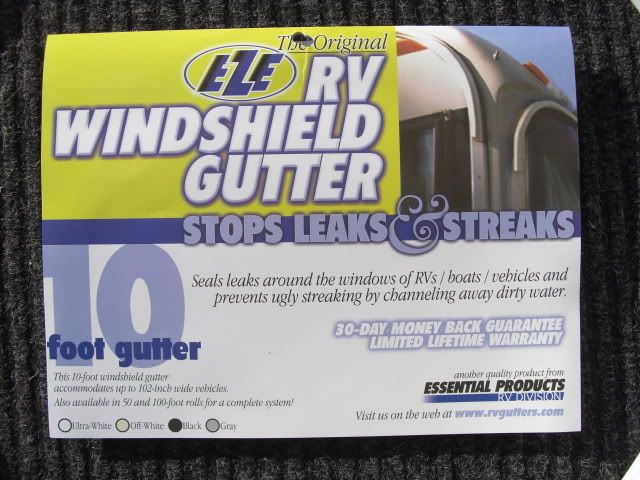
The material can be purchased at any RV supply, I got this at Camping World. Comes in white with a very good 3M adhesive already installed on the back.
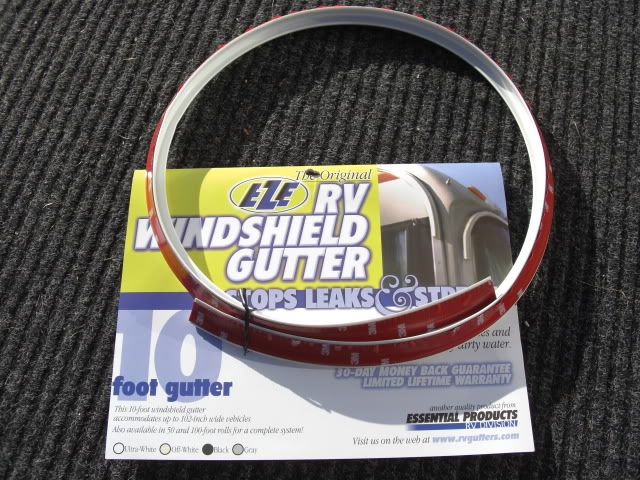
I cut the pieces to fit, rounded the corners slightly...used Scotch-Brite to take off the gloss and gently wiped them with liquor thinner.
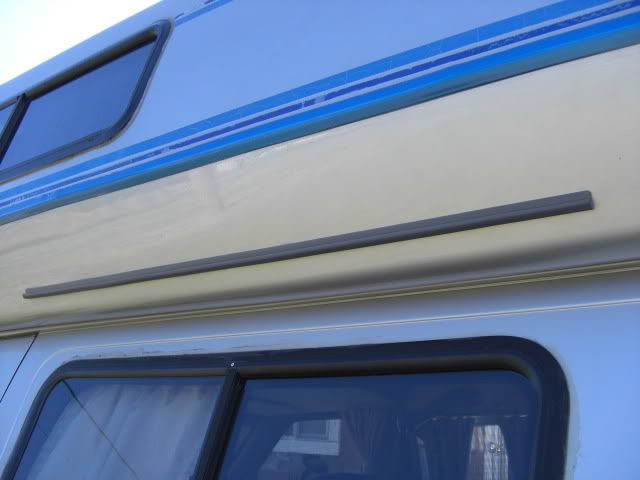
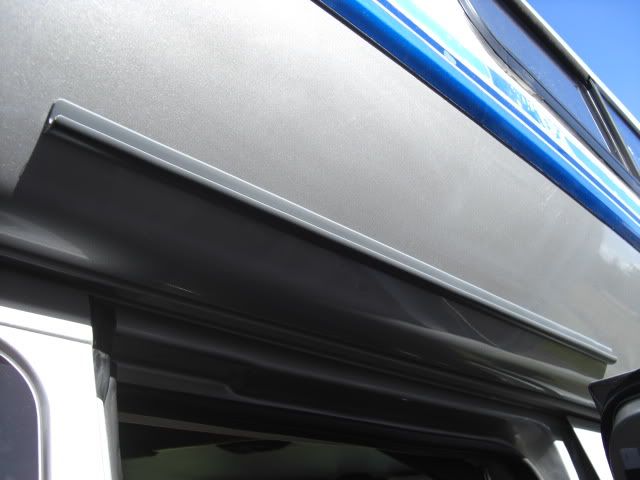
I placed them 7 inches down from the center of the blue stripe, to the top of the gutter material.
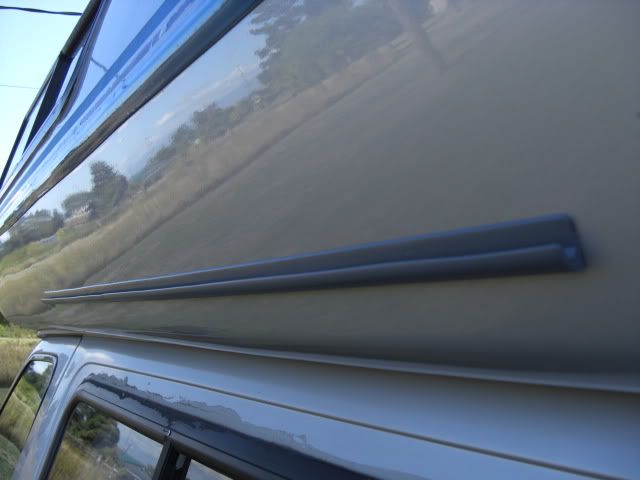
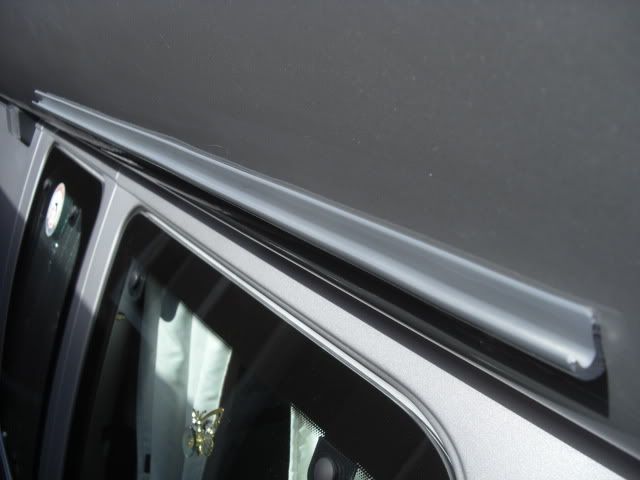
I found the only way to install them on straight was to tape a yard stick on the fiberglass to use as a straight edge, then place the plastic material up against the bottom of the yard stick carefully, a few inches at a time, pull back the protective covering on the adhesive just a few inches to a time also rather then removing it all at once....prior to that be sure to gently wipe below the yard stick with liquor thinner on the fiberglass to be sure its clean
Once in place I used a rubber hammer and a small block of wood to slide along and gently tap it to make sure the adhesive was well attached.
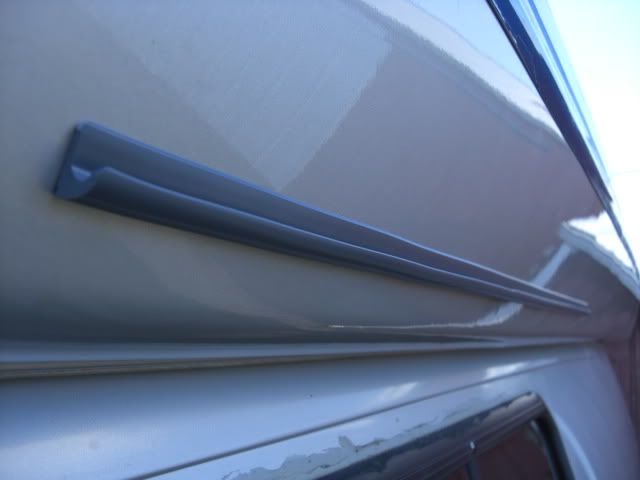
The adhesive is just thick enough to allow paper to be slid in around the total perimeter of the now-installed gutter material in preparation for painting.
I used a Krylon dark gray primer (51318) for color and then put Krylon Clear Acrylic over it (1301)...having never found a silver paint I liked, and the contrasting color looks ok
Side Door...
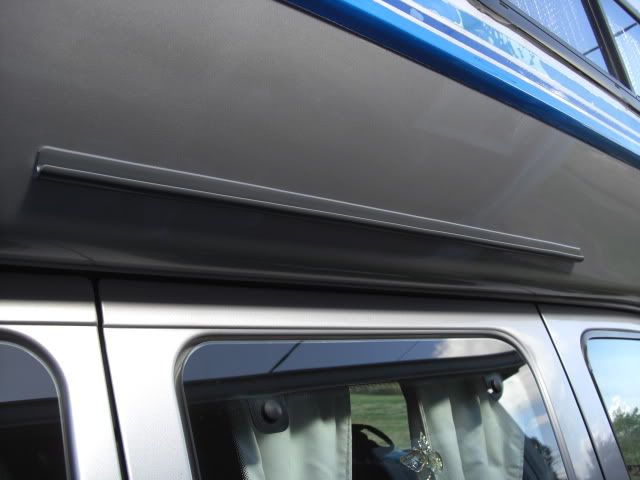
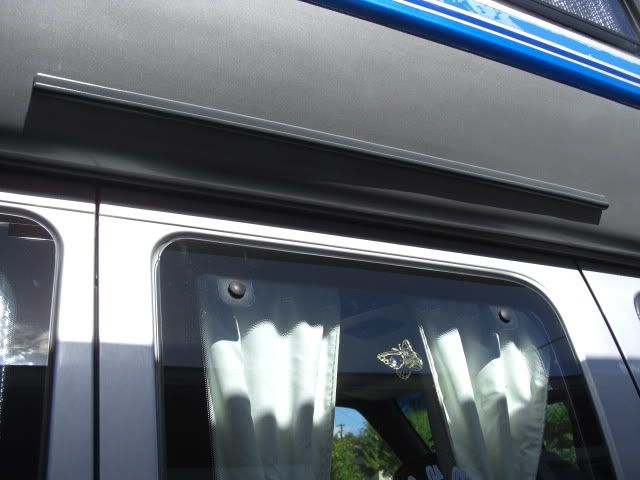
Over side window...